
A shed can be a great addition to anybody's yard for whatever purpose the owner may have for it. Sheds are great for storage purposes but can also be converted into office workspaces if you choose. Depending on what kind of shed you want and its functionality, you will need to figure out the design and how to build your shed.
If you have a specific idea of how they want their shed to look and function, look no further. This article will discuss how you design your shed and build it on your own.
1. Permits
A very big step in building your shed is making sure you get your permits before starting the building process. Most places do not require you to have a builders permit for a small shed around 6x8 to 8x10. If your shed is larger than these sizes, you may need a permit as it could affect the local zoning restrictions within your area. If your shed is built and does not follow the requirements of the building code, you can face fines and even be told to tear your shed down.
To avoid any troubles, it is good to contact your local or county zoning department to learn the codes you have to meet or respect when building your shed. Some things that will most likely require a permit when designing and building include:
Electricity is hooked up to your shed
If your shed is going to be a type of home or business, you have to inform the zoning department to come and do regular inspections as they would for any home or business.
When placing your shed, there are specific rules about having it too close to a property line, trees, and more.
Size depends on your area, so checking with your local building codes for that area will let you know what is allowed.
Before breaking ground for your new shed, establishing its purpose and getting all your permits will make the rest of the building process smooth. You can hire a professional to take on all your permits if you are unsure or tackle them yourself.

2. Preparation
Now that you have gotten your permits, you're ready to start preparing for your shed. Building a smaller shed is generally not that expensive; it only becomes costly when picking size and materials.
Drawing out a plan for your shed is a good idea for you to pick what size shed you want, what kind of materials you want to be used for the shed, if you want windows and what kind of door. There is plenty to choose from, so making a list will help you figure out precisely what you need. If you are just using your shed for storage, then considering a ramp to wheel certain things in and out can make it easier to store them.
Depending on what you're storing can also determine the size of the door too. You can purchase pre-made kits to build your shed if you have a basic idea in mind or are looking to build from scratch; having a professional drawing to show what you want will benefit you when collecting materials and building.
3. Building the Foundation
There are plenty of options to pick for your foundation in this step, but you will have to check your permits and code for which you can use in your location. Most places allow you to have a concrete block base with a wood floor over it. Building your frame first around where the base will be and check that it is level and squared will help to prevent any unevenness.
Once you have your wood frame lay a concrete block on each corner, remove the frame but keep the blocks in place. Doing this and then measuring again will determine your high corner and low corner. The high corner side will be your drainage side, so you will dig under it and put crushed stones to help with draining. You will do this for the other three corners, but keep it level as you go.
When you have finished those steps, you will lay your wood frame on the blocks again and check that it is still level. If not, you can either add blocks or remove them as you go to help level the base. If you live on a slope or have harsh conditions, instead of the blocks, you can pour concrete as your base and build from that instead.
4. Flooring
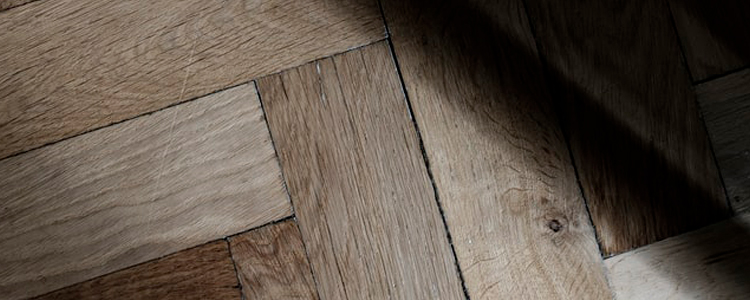
Now you will want to finish your floor frame with joists and sheathing. Add your floor joists around every 16 inches on center and then complete by nailing the band joist into the end of the floor. After those are all in place, you will add your joist hangers to each spot then you will square your floor by measuring corner to corner.
Now you will lay your plywood onto the floor and nail it in; you will trim it as you need. Next, you will add your next sheet and cut again as you need to; once that is finished, you will want to ensure no gaps or uneven pieces.
5. Walls
For this step, you will assemble one end of the shed then build the wall on top of the sheathing to be moved up when it is completed. Once the walls are nailed together, you will measure it corner to corner to keep it even. You will now add sheathing and siding to the walls.
If you choose to have windows, you can add them now and trim them to the correct size. You will repeat the steps for the remaining walls, and once completed, you will lift them up and align the siding and sheathing correctly. Once they are in place and plumb, you will nail them together at their corners.
6. Frame and Install your Roof
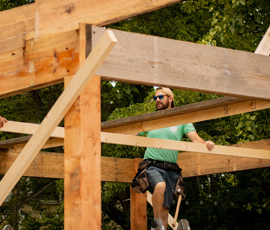
You will need roof trusses and a bottom cord to create your triangle roof. The trusses and bottom cord are held together by a plywood gusset at each of their main points. Once they are cut to the lengths planned, you will then lay them down to form the triangle. You will build a truss for each gable wall, then attach your bottom cord with plywood gussets.
The four interior trusses will have gussets put on both sides. The two exteriors only need one. Cutting out your boards will be the next step for the roof. Depending on the size of your roof will determine the measurements; these will be the vertical supports for your exterior trusses.
After you have cut the boards, you will then fit them into the exterior trusses and nail them into the rafters and cross ties. Now you'll cut your shed siding to the correct size to cover the exterior trusses and then nail it in. Raise your trusses and begin nailing them to the top plate of the front and back of your shed’s walls. You can now set your rafters on top of the bearing walls.
Adding half of the plywood sheathing to your roof, you will start at the bottom corners and run it across them, finishing by nailing them in. continuing to repeat this step and trimming as you need for everything to fit.
When you're thinking of what kind of roof you want, you can either shingle your roof, install a metal roof, solar panels, and so much more. Depending on what roof style you select will determine the installation process.
7. Install your Door
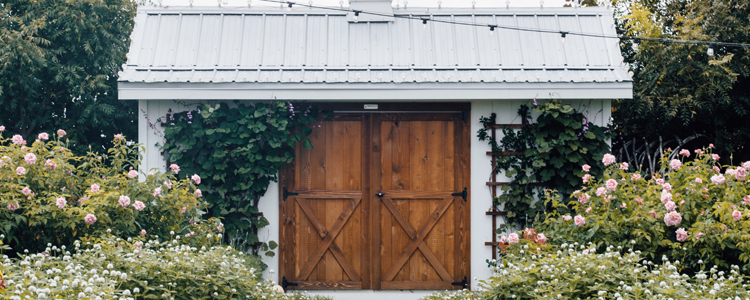
There are so many different door types, and styles so make sure you have the one you want to is picked out ahead of time so that there are no delays in the building process. Depending on your shed, you could have a pre-hung door, barn door style, sliding doors and more. Each of those doors is very different and has different installation methods to follow. Picking out your door and following the manual that comes with it will help to make sure it works efficiently.
8. Painting and Accessories
At this point, you can have an exterior trim added to your shed if you like. Now that your shed is built and has everything together, it is time for the fun part of painting. Depending on what type of material, whether it be wood or metal, selecting the correct paint for the material will ensure your paint will last a long time. Fun colors and basic neutrals are yours to decide.
You can also add accessories to your shed now too like hooks inside, garden boxes on the outside, lights and more; whatever you decide, you can decorate your shed how you please.
Lastly, building your shed depending on size can be reasonably inexpensive. Knowing what you want out of your shed can help you determine how you want it built. Having all your permits ready to go makes building a shed a breeze. Hopefully, this article will have guided you to create your shed the way you wanted or give you an idea of how to do it and make it a little easier to do so.
Robert J Fischer Team team is comprised of specialists, who all focus on what they do best and work together to make the home selling and buying processes as smooth as possible. Each member of our team fights every day to help our clients meet their real estate goals and do what is best for their families. Whether you’re looking to sell a house, an office building, or hundreds of acres, we would love the opportunity to talk with you about putting our best-in-class marketing solutions and services to work for you.
Contact Us
